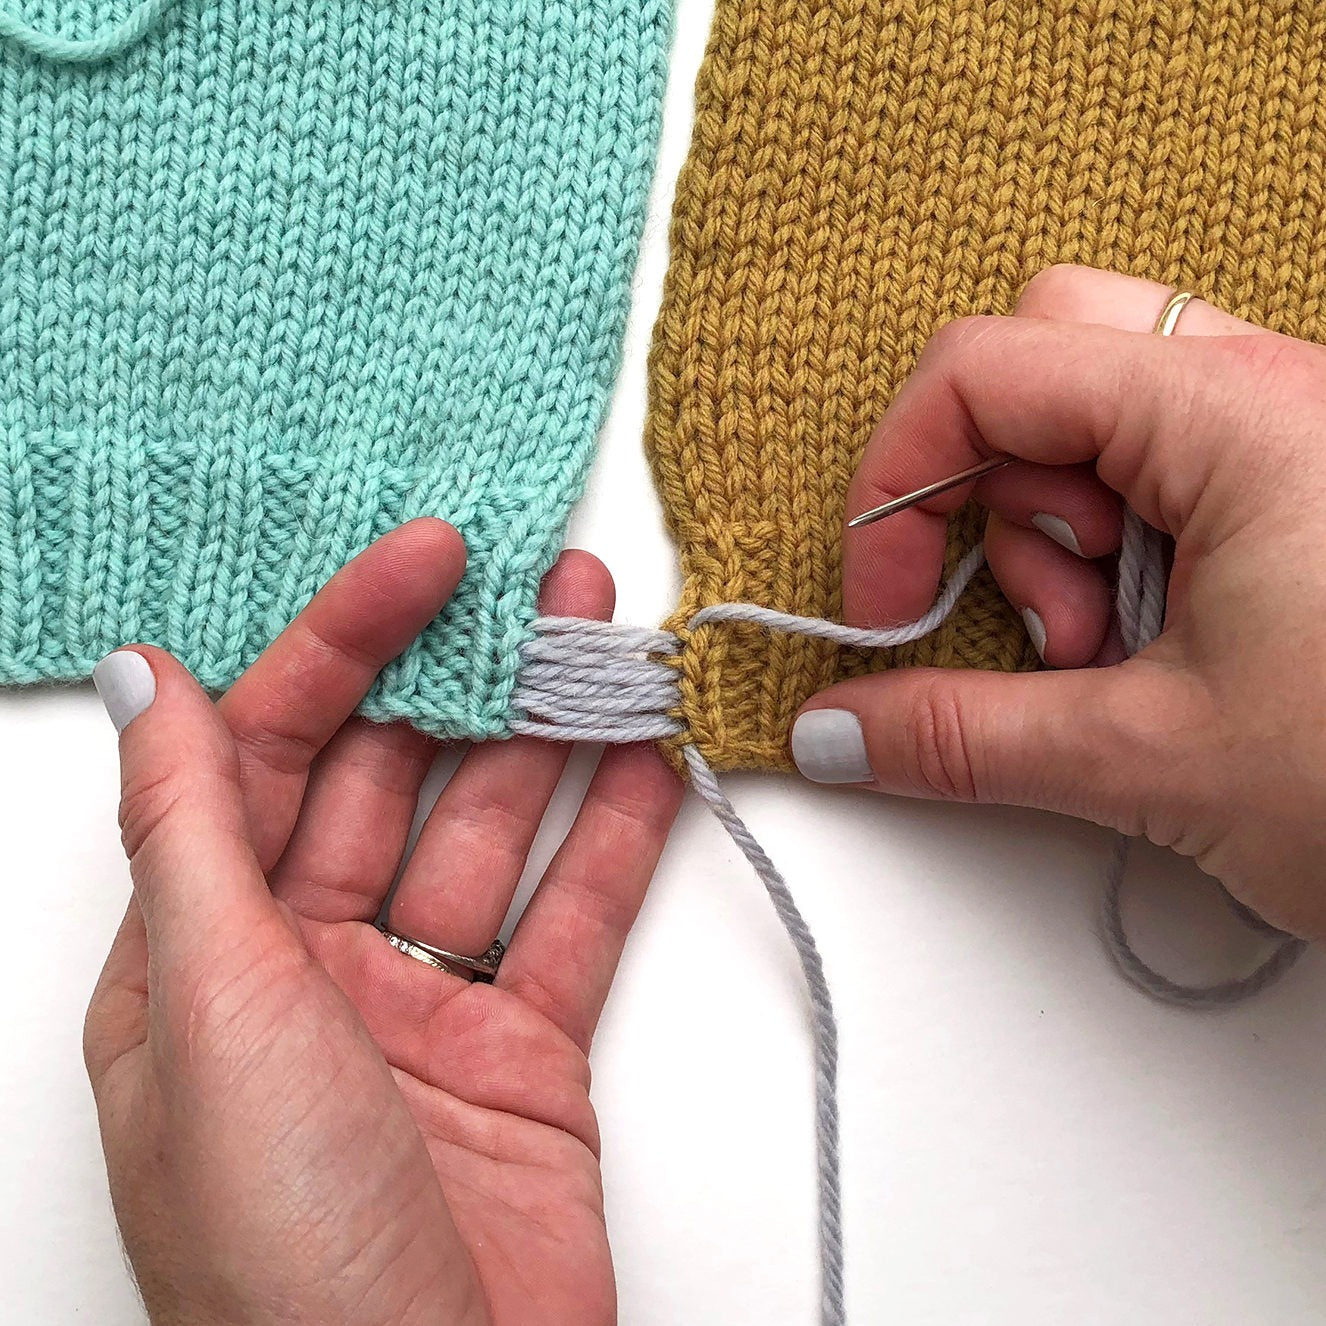
One of the classes we love to teach the most is a finishing, focusing on proper blocking and seaming techniques. Over time, we have found that a large focus of the class is on all of the steps a knitter should take before the finishing process begins in order to achieve optimum results. While this sometimes throws our students for a loop, preparing for a project, knitting the project, and properly finishing are all pieces of the full puzzle of creating a finished product you can be proud of.

We love seamed garments for many many reasons, the primary one being the seams provide structure and stability to a knit garment, especially one created with a drapey fiber. Unfortunately, seaming a garment seems to really stop people in their tracks. More so than swatching, blocking, picking a size, or knitting complicated stitch patterns, the majority of our students will admit they have completely disregarded a pattern if they see it has seams. Even knitters who know how to work the mattress stitch to join pieces admit they still have difficulty putting them together so that the edges do not pucker.
Simply put, in order to have your pieces look their best when seaming them together, you have to knit them to the exact same length. In my experience, the only way to do this is not by measuring your items with a tape measure (useful for a variety of other applications, no doubt), but instead by working the exact same number of rows for both pieces.
This may seem counterintuitive – the industry standard is to write lengths of pieces in inches / centimeters, not rows or rounds – but that length measurement is actually a key piece to the puzzle, especially if your blocked stitch gauge matches, but your row gauge does not.
EXAMPLE:
I am working a simple pullover in stockinette stitch. My blocked gauge is 18 stitches and 22 rows / 4″ (10 cm) and I am knitting the back length to 16″ (40 cm) before armhole shaping begins. Regardless of what my unblocked gauge is, I know if I knit my back the correct number of rows to reach 16″ (40 cm) after blocking, my piece will be the correct length.
In order to determine this number, I first take my row gauge after blocking and divide this number by 4:
• 22 rows / 4 inches = 5.5
This means for every 5.5 rows I knit, I will have worked one inch. Now, I’ll multiply this rows/inch number by the number of inches I want my piece to be:
• 5.5 rows x 16 inches = 88 rows.
So I know I need to work 88 rows of my body to make a piece that is 16 inches after I have blocked my piece. Once I have worked a blocked swatch and then completed these calculations, I never measure my pieces with a ruler when knitting the item – I only count rows. The unblocked knitting can be deceiving, as my row gauge may have changed post-blocking, and we all have a way of shape shifting knitting into the length we want it to be – unconsciously or not – if measuring a piece with a ruler.
Then, when working the front, I will also knit the body to 88 rows before beginning the armhole shaping. By knitting the front and back to the exact number of rows – not measured inches – I am guaranteeing the seaming process will be a total breeze and the pieces will line up exactly as I would like them to.
This method can be applied to all parts of a sweater, including cuffs, yoke shaping, sleeves, left/right fronts of a cardigan, or added elements such as pockets.
OTHER APPLICATIONS:
• When working sleeves, either from the top down, bottom up, in the round, or flat, count the number of rows/rounds for each sleeve to make sure they are the exact same length.
• When working raglan shaping where the number of rows worked is determined by the decreases/increases worked, double check your row gauge does not differ so drastically from that as given in the pattern so that your yoke is much too tight, or (something I dread most), so deep as to look sloppy and fall off your shoulders.
