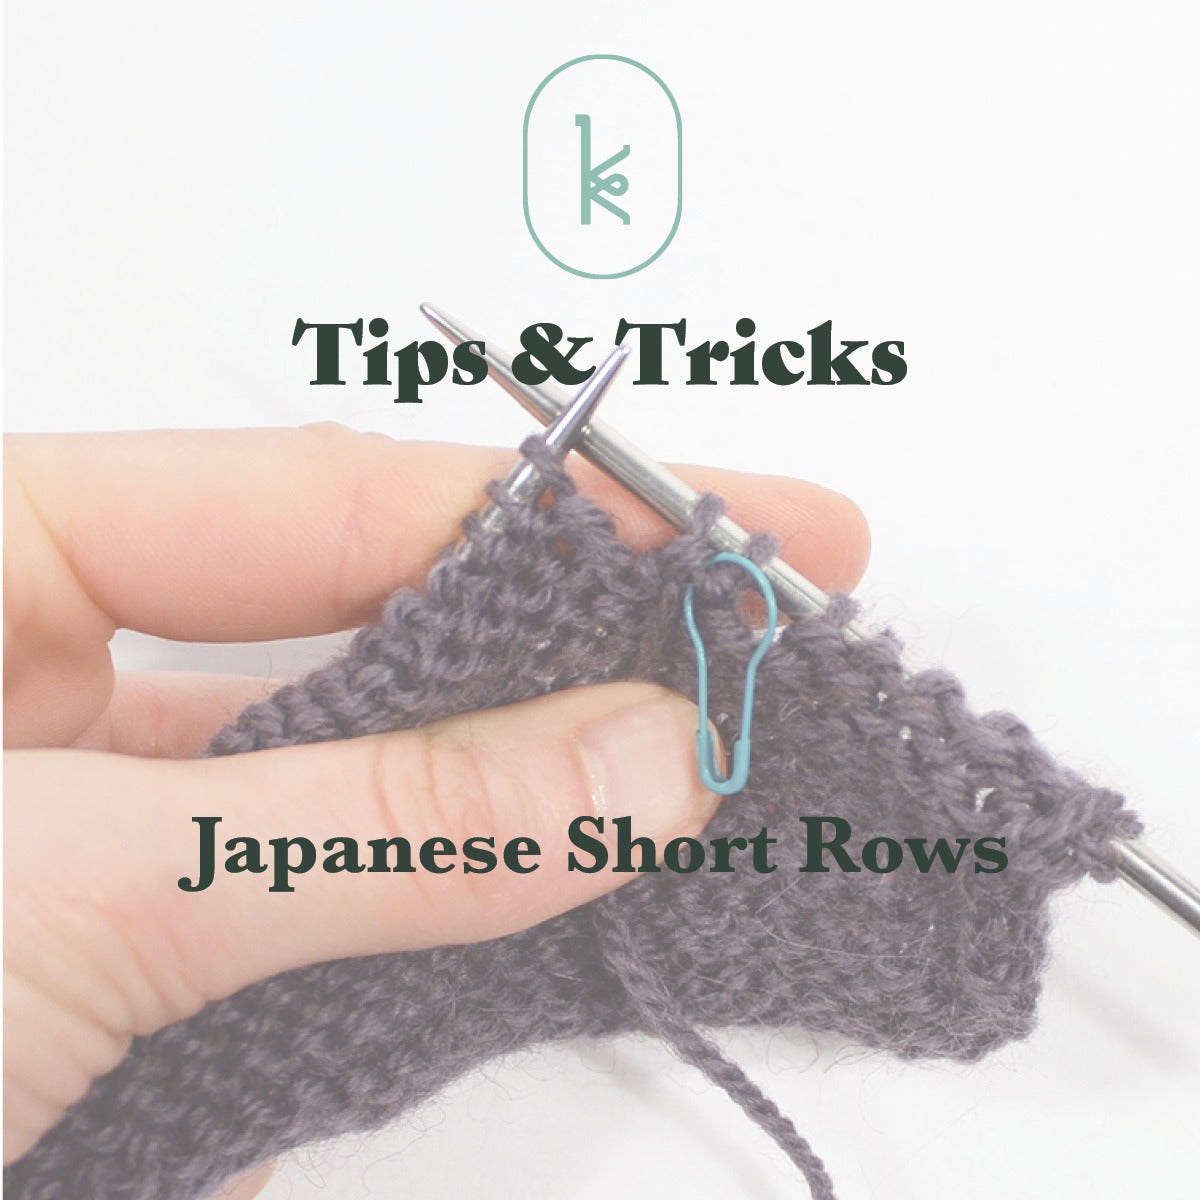
Tips & Tricks
Japanese Short Rows are an alternative method of creating short row shaping if the wrap and turn method does not suit you.
This technique can be used to great effect on a stockinette stitch fabric, or in places on your knitted item where you’re looking for as subtle a short row as possible. The key is in placing the locking stitch markers correctly, so make sure you have a nice amount on hand before you begin.
 Step 1 /
 Work to the place in the row as designated by your pattern. For my swatch, I worked in stockinette stitch until 6 stitches remain.
Step 2 / Place a locking stitch marker around your working yarn.
STEP 3 / Turn in preparation to work a new row. Slip 1 stitch purlwise, then work the next stitch, ensuring your placed marker is in between the slipped stitch and the stitch you just worked.
Step 4 / Follow the instructions as directed in the pattern, until all markers have been placed and short rows have been worked. For my swatch, I placed 3 markers 6 stitches apart.
Step 5 / Once your markers have been placed, you will need to resolve the short rows in order to begin working full lengths of your knitting. On the first row, work until you reach the first marker. Using either your fingers or the needle, pull the marker up and place the small loop of yarn onto the left hand needle.
Step 6 / Remove the stitch marker and work the newly created loop and next stitch on the left hand needle together as one.
Continue in this manner. Once complete, the short rows will be nearly invisible.

 Step 1 / Work to the place in the row as designated by your pattern. For my swatch, I worked in stockinette stitch until 6 stitches remain.


